Grape Must Basics Every Home Winemaker Should Know
Grape must is simply crushed grapes — juice, skins, pulp, and seeds together — before fermentation turns it into wine. Understanding must is the key to understanding how red, white, and rose wines get their color, body, and flavor.
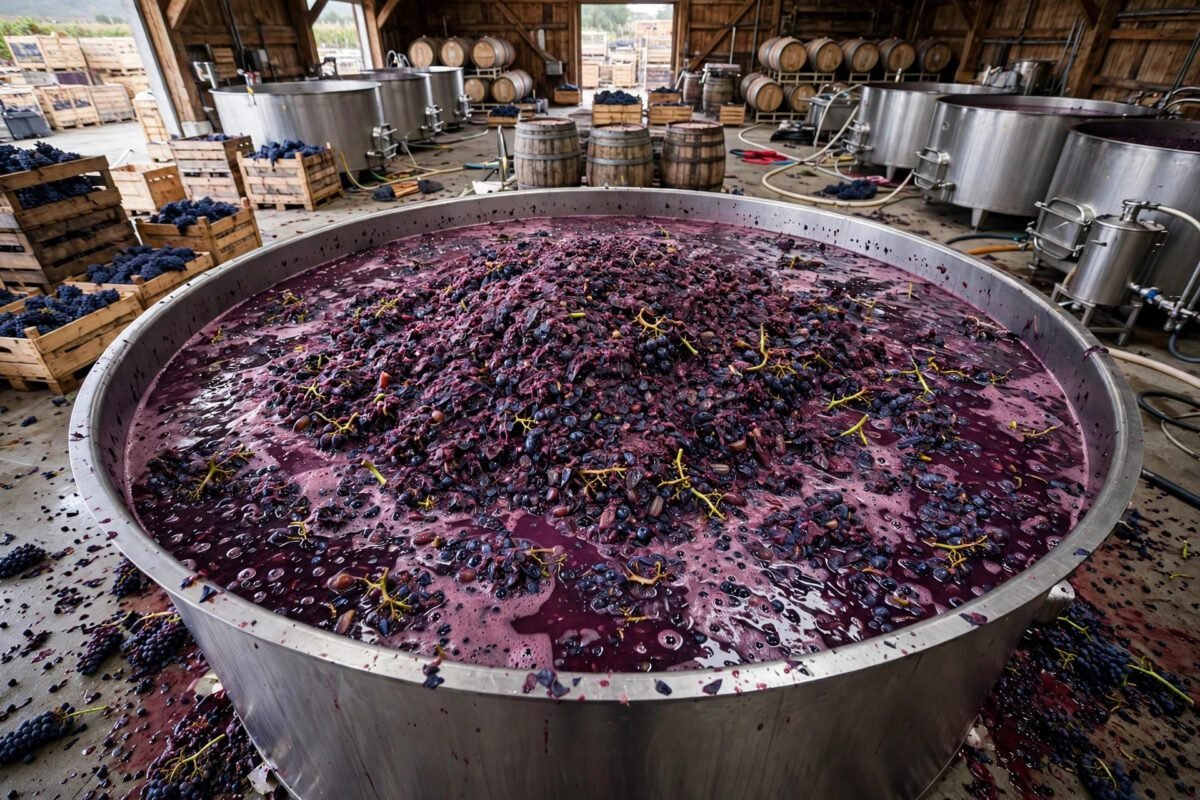
If you have ever looked into making wine at home, you have probably run into the term grape must, and you may have wondered what exactly it is. The short version: grape must is what you get right after grapes are crushed and before fermentation turns them into wine. It is the juice, the pulp, the skins, and the seeds, all mixed together in a container, ready for yeast to do its work. Everything that makes a wine taste the way it does — its color, its body, its tannin, much of its aroma — starts in the must.
That one word covers a lot of ground, though, and home winemakers handle must differently depending on the wine they are making. A red wine ferments on its skins. A white wine usually does not. A rose sits somewhere in between. Getting those choices right is one of the most important skills in home winemaking, and it all starts with understanding what is actually in the bucket in front of you.
Grape Must Basics Every Home Winemaker Should Know
The word “must” comes from an old Latin word for young wine, and it has been used by winemakers for centuries to describe this in-between stage. Grapes are picked, sorted, and crushed, and the result is must. At this point it is not wine yet. It is sweet, it is pulpy, and it is full of living yeast and bacteria from the vineyard, whether you can see them or not. What happens next — how you treat the must over the coming days and weeks — decides a great deal about the finished wine.
One useful way to think about must is as a set of ingredients that are already mixed together. The juice provides the sugar that yeast will turn into alcohol, plus water and acids. The skins provide color in red grapes, plus tannins and many aroma compounds. The pulp contributes more juice and some texture. The seeds contribute tannin too, though too much seed tannin can make a wine taste bitter and harsh. A winemaker’s job during fermentation is to manage how much each part contributes, and for how long.
That is why two wines made from the same grapes can taste completely different. Ferment the must with the skins for a week and you get a light red. Leave the skins in for three weeks and you get something darker, firmer, and more structured. Press the juice off the skins immediately and you get a white or blush style wine from the very same fruit. The must is the same starting point. The choices are what change.
What Is Actually in Grape Must
The largest part of must, by volume, is juice. When grapes are crushed, the juice runs freely, and this free-run juice is the sweetest and gentlest part of the batch. It is also the part that starts fermenting first, because the natural yeasts on the grape skins come into contact with the sugar as soon as the berries break open.
The skins are the next most important part, especially for red wine. In red grapes, nearly all of the color lives in the skins, not in the juice. If you have ever cut open a red wine grape, you may have noticed the flesh inside is pale, almost greenish. The deep red color of the finished wine comes entirely from soaking the juice with those dark skins during fermentation. Skins also carry tannins, the compounds that give red wine its drying, slightly grippy feeling on the tongue, and many of the aroma compounds that make one grape variety smell different from another.
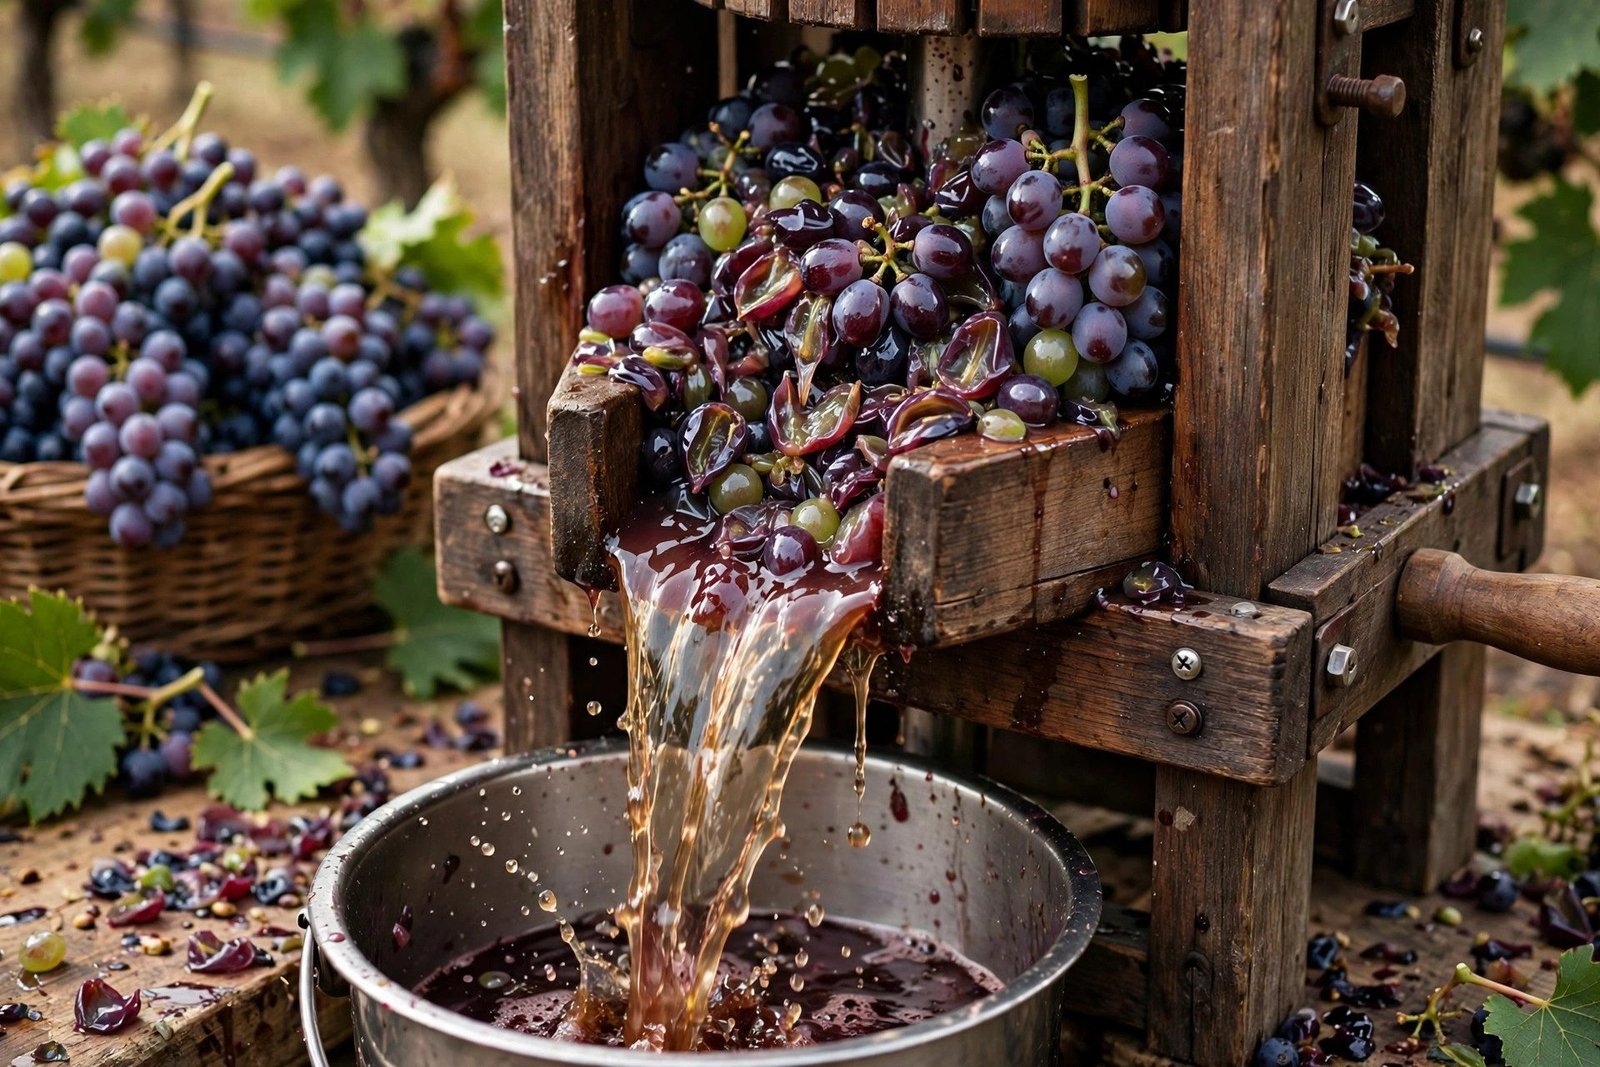
The pulp is the soft flesh of the grape, and it mostly contributes juice and a bit of body. It breaks down quickly during crushing and fermentation and does not need much attention from the winemaker. The seeds, on the other hand, deserve some care. Seeds contain tannins that are harsher and more bitter than skin tannins. Gentle handling of the must — not crushing the seeds, not pressing too hard — keeps those bitter tannins out of the wine. This is one reason winemakers talk about a “gentle crush.” The goal is to break the skins open without grinding the seeds.
There may also be stems in the must if the grapes were crushed whole, without destemming first. Stems add their own kind of tannin and a green, herbal character. Some winemakers include a portion of stems deliberately, particularly in certain red wine styles, because they can add structure and complexity. Most home winemakers destem fully, which is the simpler and safer choice when you are starting out. Whole-cluster fermentation, where stems stay in, is a technique to try later, once you know how your basic wines turn out.
Step 1: Start With Good Fruit and a Clean Crush
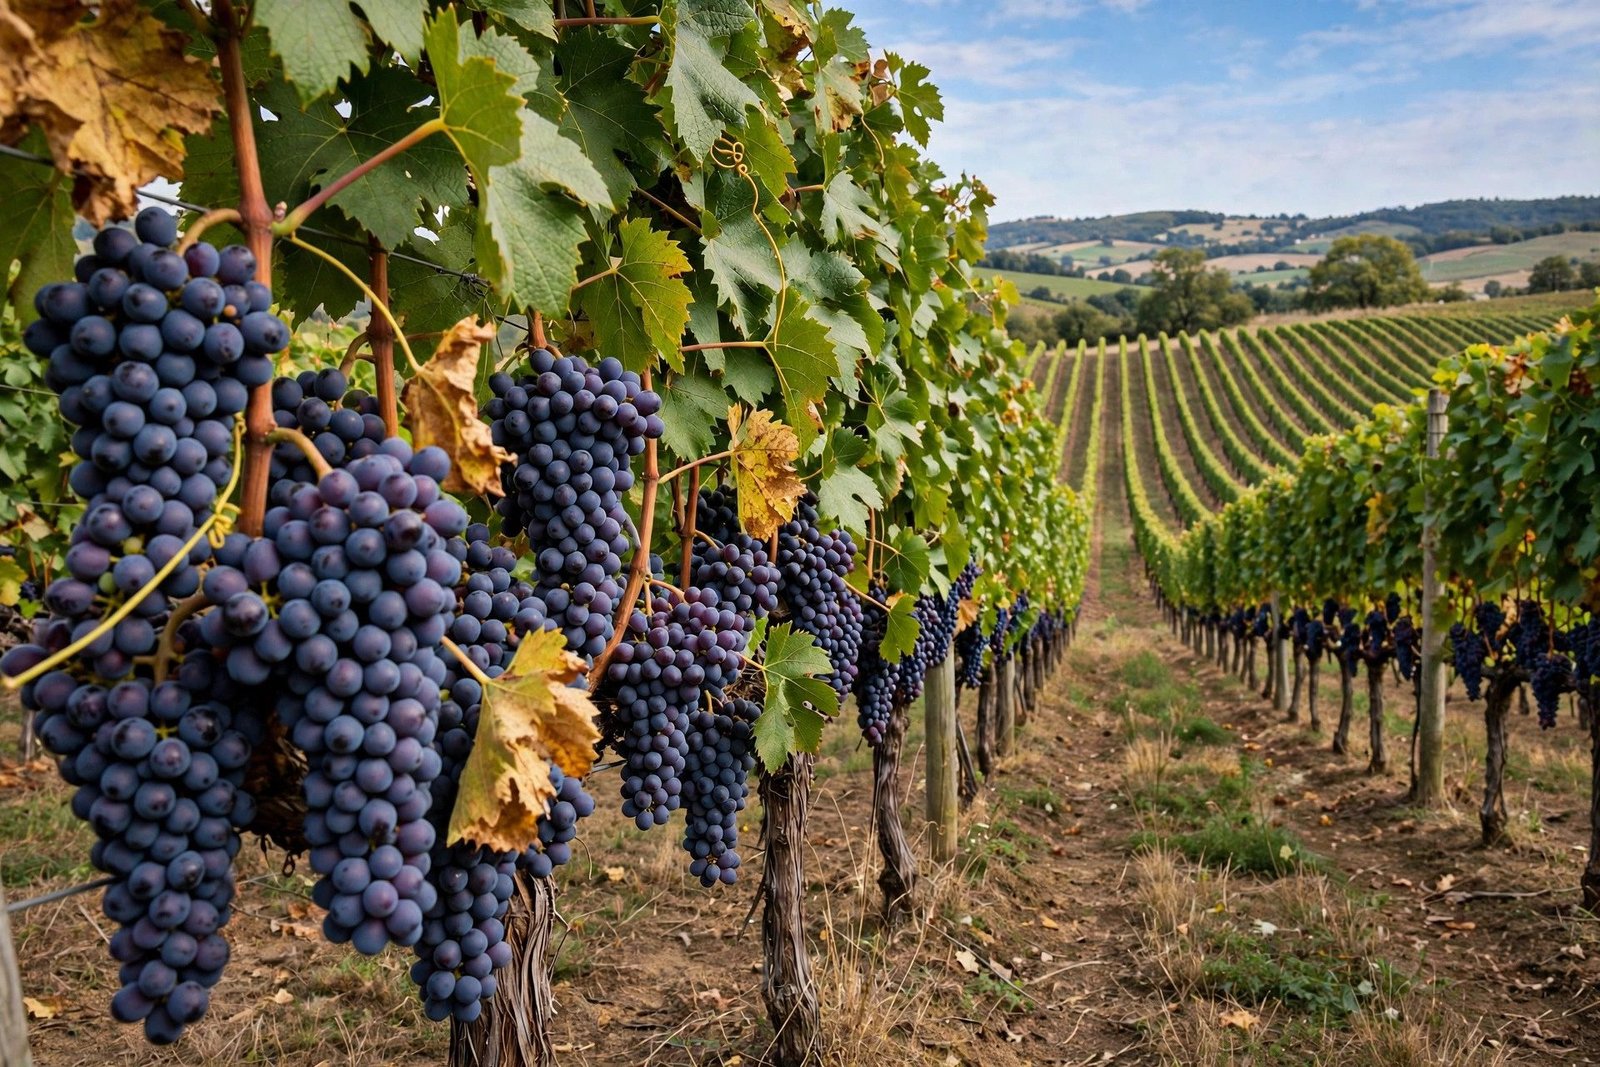
Everything about a wine starts with the fruit, and must is no exception. Grapes that are ripe, clean, and free of rot make must that ferments happily and tastes good. Grapes that are underripe make wine that tastes sharp and thin, because the sugar is low and the acids are high. Grapes that are overripe or rotting bring off flavors that no amount of careful winemaking can fully remove. If you are buying grapes from a supplier, ask when they were picked and taste a few before you commit. Sweetness, flavor, and a pleasant chewiness in the skins are all good signs.
Sorting matters more than beginners expect. Before crushing, pick through the grapes and remove anything moldy, dried out, or clearly unripe. You do not need to be perfect about it, but removing the worst clusters makes a real difference. A small amount of less-than-perfect fruit in a large batch will not ruin a wine, but a lot of rot certainly can.
Cleanliness is the other half of this step. Every container, tool, and surface that touches the must should be clean and sanitized. Must is sugary, warm, and full of nutrients, which makes it an ideal home for all kinds of microbes, not just the yeast you want. A quick rinse is not enough. Wash with a proper cleaner, rinse well, and sanitize before the grapes go in. This single habit prevents more home winemaking problems than any other.
Crushing itself can be done with a small hand crusher, a rented crusher-destemmer, or even by hand in a food-safe container for a very small batch. The goal is always the same: break the skins so the juice runs free, without smashing the seeds or turning the whole batch into a puree. If you are working by hand, clean hands or clean gloves and a gentle stomping motion work fine for a few pounds of grapes.
Step 2: Measure the Must Before You Add Anything
Once the grapes are crushed, a good home winemaker measures before acting. The three measurements that matter most are sugar, acid, and temperature, and each one tells you something you need to know before fermentation starts.
Sugar is usually measured with a hydrometer, a simple floating instrument that tells you the density of the juice. Winemakers express this in degrees Brix, which roughly corresponds to the sugar percentage. The sugar level tells you roughly how much alcohol the finished wine will have, because yeast turns sugar into alcohol. If the sugar is very low, the wine will be light in alcohol and may taste thin. If it is very high, fermentation may struggle or stop early, leaving a sweet wine you did not plan. Measuring lets you decide whether to adjust, and by how much, instead of guessing.
Acid matters because it shapes how fresh and lively a wine tastes, and because it helps protect the wine from spoilage. Must that is too low in acid can taste flat and dull, while must that is too high can taste sharp and sour. A simple acid test kit from a winemaking supplier will give you a number you can work with. You do not need a laboratory. You just need to know whether you are in a reasonable range for the style you are making.
Temperature matters because yeast is sensitive to it. Must that is too cold will ferment slowly or not at all. Must that is too warm can ferment too fast, losing delicate aromas and stressing the yeast, which can create off flavors. Most wine yeasts are happiest in a moderate range, and keeping the must in that range during the first days of fermentation is one of the simplest ways to improve your wine. If your must is cold from recently picked grapes, let it warm up to room temperature before you add yeast.
Write your measurements down. A notebook with the date, the grape variety, the sugar reading, the acid reading, and the temperature becomes an incredibly useful record. When a wine turns out well, you can repeat what you did. When one does not, you can look back and figure out why. Winemakers who keep notes improve much faster than those who rely on memory.
Step 3: Decide How the Skins Will Be Handled
This is the step where red, white, and rose winemaking split apart, and it is worth understanding clearly.
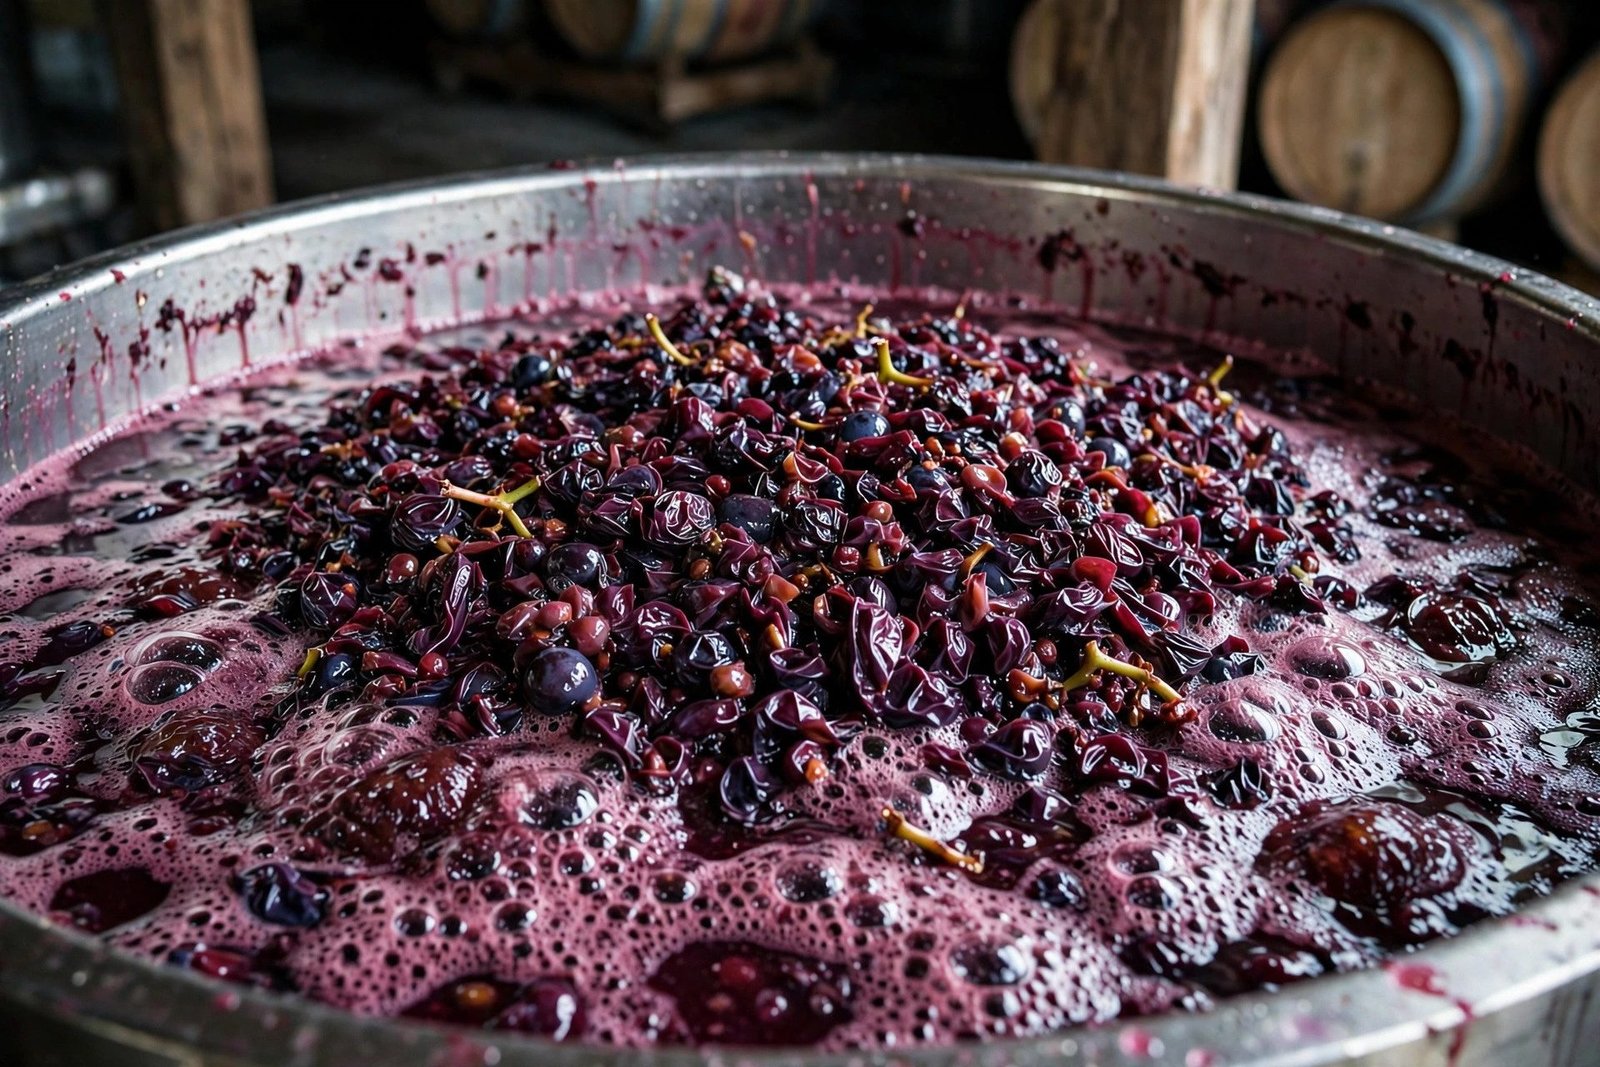
For red wine, the must ferments with the skins in the container. As fermentation produces carbon dioxide, the skins float to the top and form a thick layer called the cap. If the cap is left alone, it dries out, and the juice underneath does not get full contact with the skins, which means less color and less flavor extraction. So red winemakers “punch down” the cap, pushing the skins back into the juice, usually a couple of times a day during active fermentation. Some use a pump to splash juice over the cap instead, a method called pumping over. Either way, the goal is the same: keep the skins wet and in contact with the fermenting juice.
For white wine, the usual approach is the opposite. The must is pressed soon after crushing, and only the juice is fermented. The skins and seeds are removed before fermentation begins, which is why white wine stays pale even when it is made from grapes with some color in their skins. The juice may be allowed to settle for a day so that solids sink to the bottom, and then the clear juice is moved to a clean container for fermentation. This settling step helps keep the finished wine clean tasting and clear.
For rose, the juice spends a short time with the skins — hours rather than days — just long enough to pick up a pink color and a little flavor, and then it is pressed off and fermented like a white wine. The exact timing is a judgment call, and it depends on the grape variety and the shade of pink you want. Checking the color as the soak goes on is part of the craft. A few hours can make the difference between a pale blush and a deep rose.
None of these approaches is more “correct” than the others. They are different tools for different wines, and part of the fun of home winemaking is learning how a small change in skin contact changes the wine in the glass.
Step 4: Manage Fermentation Day by Day
Once yeast is added, the must becomes an active, changing thing. The first signs of fermentation are usually small bubbles and a faint yeasty smell, followed by more vigorous bubbling and a rising cap if skins are present. This is the most exciting stage of winemaking, and it is also the stage where daily attention pays off.
Check the temperature at least once a day. Fermentation produces heat, and a batch that starts at a comfortable temperature can warm up more than you expect as the yeast gets going. If the must is getting too warm, moving the container to a cooler spot or wrapping it in a damp towel can help. If it is too cool and fermentation seems sluggish, a warmer spot can get it moving again. Big swings in temperature are harder on yeast than a steady temperature that is slightly off, so aim for steady.
For red wines, punch down the cap on a regular schedule. This is not just about color extraction. It also keeps the cap moist, which prevents unwanted bacteria from growing on dried skins, and it releases some of the carbon dioxide trapped underneath. Use a clean tool, wash your hands, and be gentle. You are mixing, not mashing.
Taste the fermenting must as it goes. It will taste rough and yeasty at first, and that is normal. What you are looking for is the overall direction: is it getting drier as the sugar drops, is the color developing the way you hoped, does anything smell wrong, like vinegar or nail polish remover? Catching a problem early, while fermentation is still active, gives you far more options than discovering it weeks later.
As fermentation slows, the sugar readings on your hydrometer will drop toward zero. When the readings stay the same for a couple of days in a row, fermentation is essentially done, and it is time to press the wine off the skins if you have not already, and move it into a clean container for settling and aging.
Step 5: Press, Settle, and Let the Wine Clear
Pressing separates the wine from the solids. For red wine, this means squeezing the fermented skins to get out the remaining wine. A small basket press is the traditional tool, and many home winemaking suppliers rent them. Press gently at first, because the first wine to run off is the gentlest and best quality. The harder you press, the more harsh tannin you extract from the skins and seeds, so many winemakers keep the hard-pressed portion separate and blend only a little of it back in, if any.
After pressing, the wine will be cloudy. That is normal. Over the coming weeks, solids settle to the bottom of the container as a layer called lees, and the wine above it clears. Moving the clear wine off the lees into a clean container is called racking, and most wines are racked a few times during their first months. Each racking leaves more sediment behind and gives you a cleaner, more stable wine.
Patience matters here. Young wine often tastes harsh, yeasty, or disjointed, and beginners sometimes panic and try to fix it with additives or by bottling too early. In most cases, time is the fix. A wine that tastes rough at two months may taste lovely at eight months. Taste periodically, keep good notes, and let the wine tell you when it is ready rather than rushing it into bottles.
How Must Differs Across Wine Styles
| Wine style | Skins during fermentation | Typical result |
|---|---|---|
| Red wine | Yes, for days to weeks | Deep color, tannin, fuller body |
| White wine | No, pressed off before ferment | Pale color, fresh and clean flavors |
| Rose wine | Brief contact, hours to a day | Pink color, light and fruity |
| Orange wine | Yes, like a red, but from white grapes | Amber color, firm texture, unusual aromas |
| Sparkling wine base | No, pressed gently and early | Light, high in acid, made for a second ferment |
Orange wine deserves a special mention because it surprises a lot of beginners. It is made from white grapes fermented with their skins, like a red wine, which gives it an amber color and a firmer, more textured feel than most white wines. It is an old style that has become popular again, and it is a great example of how much difference skin contact makes. The must is the same kind of starting material. The handling is what creates a completely different wine.
Common Mistakes With Grape Must
The most common mistake is neglecting sanitation. Must is a welcoming environment for microbes, and a container that was only rinsed can harbor bacteria that turn a promising batch sour. Clean and sanitize everything, every time, and you will avoid the most common cause of spoiled home wine.
Another mistake is letting a red wine cap dry out. A dry cap is not just a missed opportunity for color. It is a place where unwanted organisms can grow, and it can give the wine off aromas that are hard to remove. Punch down on schedule, even when life gets busy. A few minutes twice a day during active fermentation is enough.
A third mistake is pressing too hard or too early. Pressing early leaves color and flavor in the skins. Pressing hard extracts bitter seed tannin. Press gently, taste what comes out of the press, and keep the harshest portion separate. You can always blend a little back in later. You cannot take bitterness out once it is in the wine.
Finally, many beginners add things to the must without measuring first. Sugar, acid, and other additions all have their place, but they should be responses to a measurement, not guesses. Measure, decide, add a little less than you think you need, and measure again. Small, careful adjustments beat big, hopeful ones every time.
Storing and Handling Must Before Fermentation
Sometimes you cannot ferment right away. Grapes may arrive on a day when you are not ready, or you may want to hold the must overnight while it warms up. In that case, keep the must cool, covered, and clean. A cool temperature slows down wild yeast and bacteria, and a cover keeps out fruit flies and dust. A day or so of holding is usually fine, especially if the must is cool.
If you are buying frozen must from a supplier, which is a popular option for home winemakers who do not live near vineyards, follow the supplier’s thawing instructions carefully. Thaw it fully and gently, stir it well so the settled solids mix back in, and measure the sugar and acid after thawing, since the readings can shift during freezing and shipping. Frozen must can make excellent wine, and it lets people far from wine country work with varieties they could never get fresh.
Whatever form your must takes — fresh crushed, held overnight, or thawed from frozen — the principles are the same. Start clean, measure first, handle the skins with intention, and pay attention during fermentation. The must is where wine begins, and treating it well is the foundation of everything that follows.
FAQs
What is grape must in simple terms?
Grape must is crushed grapes — juice, skins, pulp, and seeds together — before fermentation turns them into wine. It is the raw starting material of winemaking, and how it is handled during fermentation decides much of the finished wine’s color, flavor, and body.
Is grape must the same as grape juice?
Not quite. Grape juice is just the liquid pressed from grapes. Must includes the juice plus the skins, pulp, and seeds. That extra material matters a great deal, because the skins in particular contribute color, tannin, and aroma to the finished wine.
Can you drink grape must?
Fresh must is sweet and grape-like, and tasting it is a normal part of winemaking, but it is not really a finished drink. It is unfermented, it contains wild yeast and bacteria from the vineyard, and it will start fermenting on its own if left out. A small taste during winemaking is fine. Must is best thought of as an ingredient, not a beverage.
How long does must ferment?
Active fermentation usually lasts about one to two weeks for most home wines, though it varies with temperature, yeast, and sugar level. Red wines typically stay on their skins for part of that time, while white wines ferment as juice alone. The hydrometer, not the calendar, tells you when fermentation is done: when the sugar reading stops dropping, the yeast has finished its work.
Why do red wines ferment on the skins but white wines do not?
Because the color and much of the tannin in red wine come from the skins. Fermenting with the skins soaks that color and structure into the wine. White wines are pressed off the skins before fermentation precisely so they stay pale and fresh tasting. Rose wines split the difference with a short skin soak.
What should I do if my must smells bad during fermentation?
A strong yeasty or slightly sulfury smell during active fermentation is often normal and fades as fermentation finishes. A smell like vinegar, nail polish remover, or rotten eggs that persists or gets worse is a warning sign. Check your sanitation, make sure the cap is not drying out on a red wine, and consider asking an experienced winemaker or a local supplier for advice before the problem gets worse.
Read Also: Woodworking Television Shows Worth Watching in 2026
Related Stories

Lord of the Rings T Shirt: Styles, Designs and Buying Guide
A Lord of the Rings t shirt is the easiest way to wear Middle-earth. This guide covers the…

Adidas Men’s Trefoil Essentials Oversized Cotton T-Shirt
The adidas men's trefoil essentials oversized cotton t-shirt pairs a relaxed, roomy fit with the classic Trefoil logo.…

Armenian: Language, People, Culture and History Guide
What does Armenian mean? A friendly guide to the Armenian language, its unique alphabet, the Armenian people, and…
1 response